One Bowl Brown Butter Blondies

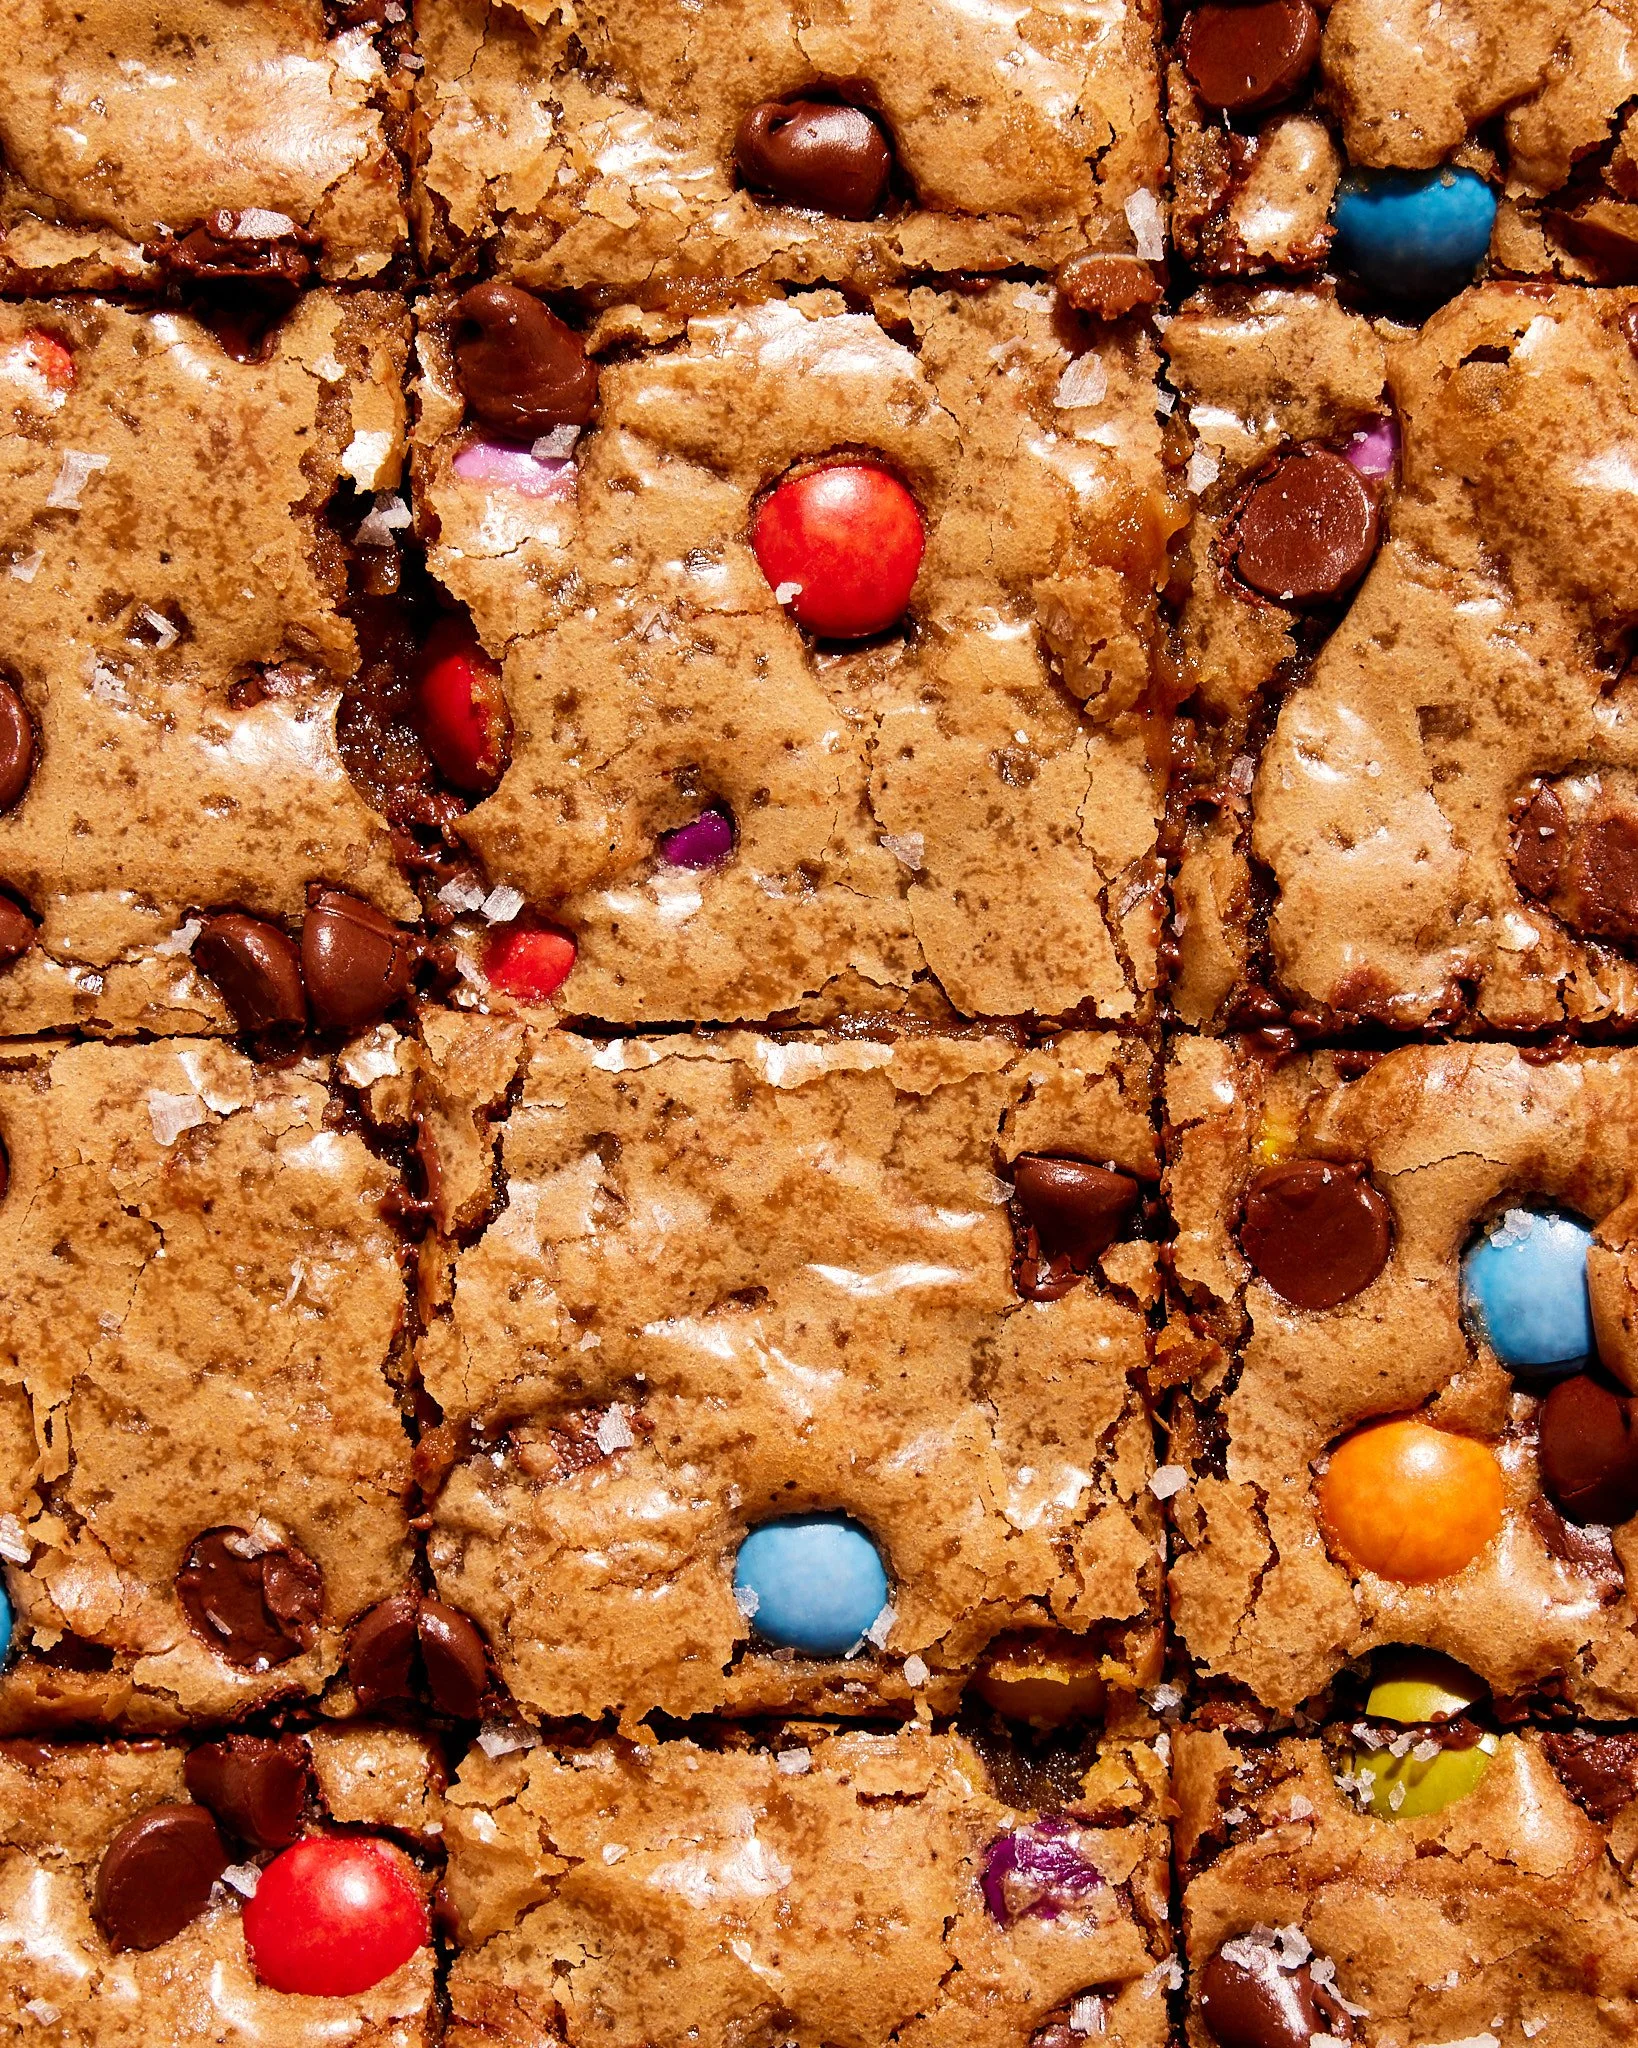
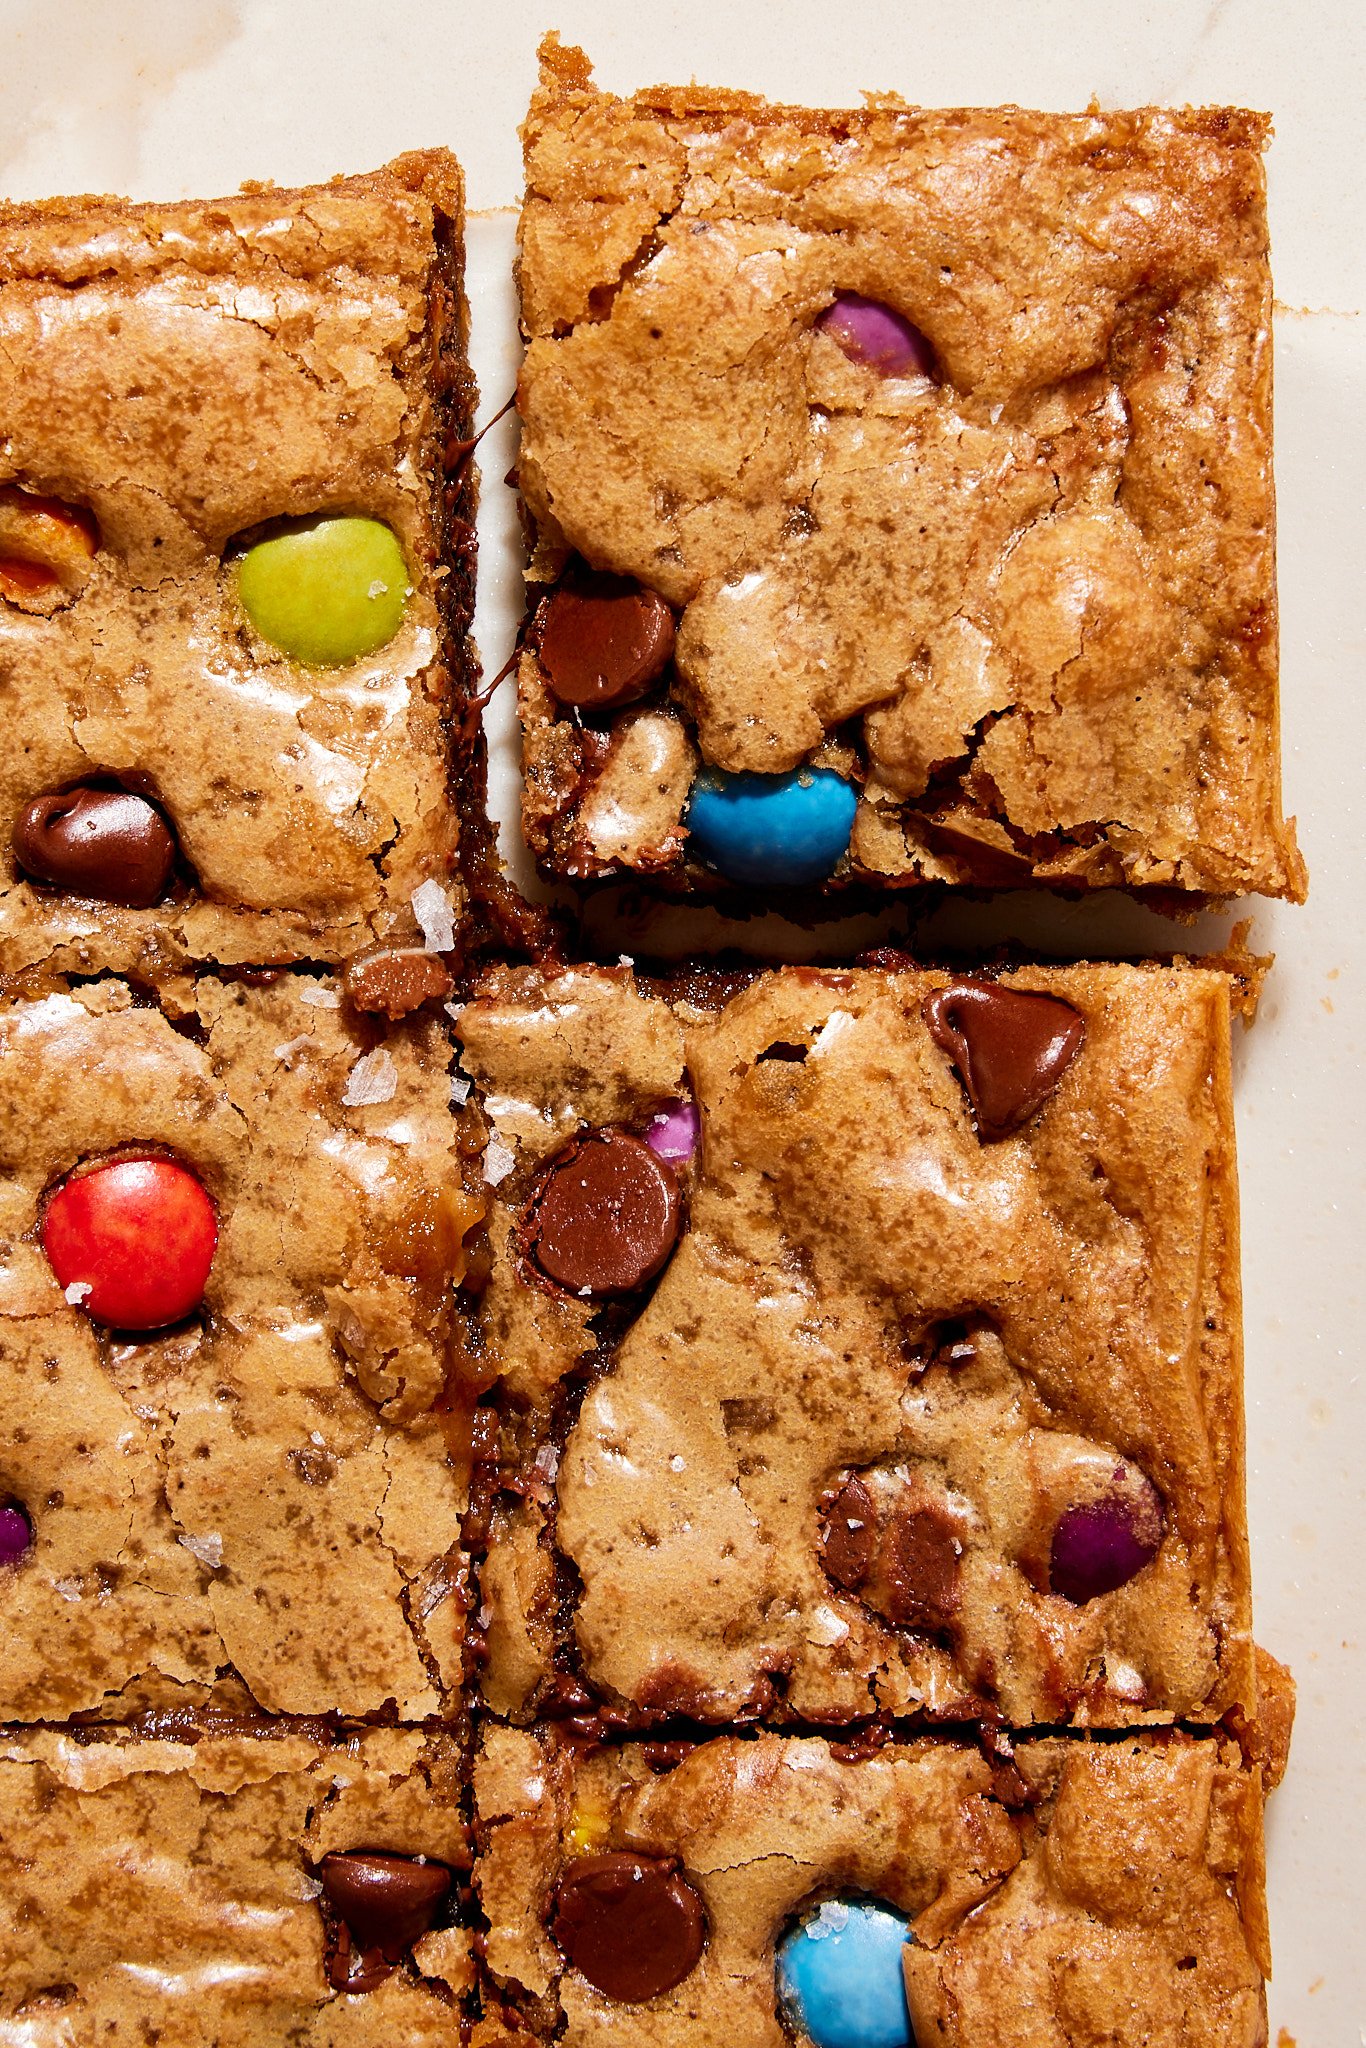
Blondies are one of the easiest bakes around. Just combine a few simple pantry ingredients in one bowl with whatever chocolate you have around, spoon the batter into a pan, and bake. The brown butter and vanilla give these a rich and delicious flavor so don’t skimp on either.


One Bowl Brown Butter Blondies

Makes one 8x8-inch pan

10 tablespoons (142g) unsalted butter

1 cup (200g) dark brown sugar

1 large egg, cold from the fridge

2 teaspoons vanilla extract

1 teaspoon kosher salt (diamond crystal)

1 cup (128g) all-purpose flour

1/4 teaspoon baking powder

1 cup (170g) chocolate chips or m&ms plus more to sprinkle

Flaky salt, to sprinkle (optional)

Heat oven to 350ºF and line an 8x8-inch baking pan with parchment paper

Brown the butter: Melt the butter in a medium saucepan over medium heat, stirring constantly until all of the milk solids turn golden and the butter has a nutty fragrance being careful to not let it burn.

Add the butter to a large bowl, then add the brown sugar. Whisk to combine then whisk in the salt and vanilla. Whisk in the egg.

Fold in the flour and baking powder. When a few streaks of flour remain, fold in the chocolate.

Transfer the batter to the pan and smooth the top then sprinkle with more chocolate and a bit of flaky salt if desired.

Bake for 25-30 minutes or until set on the edges and still soft in the center. Let the blondies cool in the pan set on a rack.

Gingerbread Cookies

181220_GingerbreadZI4A8462 1.jpg
gingerbread cookies | apt 2b baking co

My favorite gingerbread cookies have been up on the site, but a little hidden within another post, for a long time. So, this year I decided to give them a little refresh and some new fun photos. These can be made into cookie ornaments too! Just make sure to bake them for an extra minute or two, until they are crisp and dark brown, and don’t forget to poke a hole in the cookies before baking. I love the contrast of the deep golden cookies and white icing so I tend to ice these guys really simply with lines and dots of royal icing and lots of sparkly sanding sugar.


Gingerbread Cookies with Royal Icing

makes about 3 dozen 3-inch cookies

adapted from Simply Recipes

3 1/4 cups (415g) all-purpose flour


3/4 teaspoon baking soda

2 teaspoons ground ginger


2 teaspoons ground cinnamon 

1/2 teaspoon ground cardamom

1/4 teaspoon finely grated nutmeg

1/4  teaspoon finely ground black pepper 

1/4  teaspoon allspice


1 teaspoon kosher salt


14 tablespoons (200g) unsalted butter, softened

1/2 cup (110g) packed dark brown sugar 

1 large egg


1/2 cup unsulfured molasses 


In a large bowl, whisk the flour, baking soda, salt and spices together. 

In a stand mixer, cream the butter and sugar together until light and fluffy. Add the egg, then the molasses and mix until well combined. With the mixer on low speed, gradually add the flour mixture and mix until thoroughly combined. Divide the dough in half, wrap each half in plastic and refrigerate for at least one hour before rolling.


Heat oven to 350ºF and line two baking sheets with parchment paper.

Working with 1/2 of the dough at a time roll the dough 1/8-1/4-inch thick on a lightly floured surface using a lightly floured rolling pin roll. Use a cookie cutter or stencil to cut out desired shapes then place them on the prepared baking sheets. For cookie ornaments, use a skewer to poke a hole through the top of the cookies before baking.
Bake for 8-10 minutes or until the edges of the cookies have just barely begun to brown. For cookie ornaments bake the cookies until they are lightly browned all over and firm to the touch. Cool the cookies on the sheet pans for a few minutes and then transfer to a cooling rack
to cool completely. Decorate as desired.

Royal Icing

1 pound confectioners sugar, sifted

6 tablespoons pasteurized egg whites

1 teaspoon lemon juice

1 teaspoon vanilla extract

pinch salt

For the Icing

In the bowl of a stand mixer fitted with the whisk attachment combine all of the ingredients. Whisk on low speed until the sugar is moistened, then turn the mixer up to medium and whisk until smooth and glossy. 

For piping lines and shapes you’ll want thick icing. When you lift the whisk out of the bowl the icing should flow in thick ribbons that will hold their shape when they fall into the bowl below. Add a bit more confectioner’s sugar to the mixture if necessary to achieve this texture. Fill a piping bag with the icing and have fun!

For flooding and complete coverage of the cookies you’ll want thinner icing that holds its shape for a few seconds, then melts into the icing in the bowl. Add a bit more water, one teaspoon at a time to achieve this texture. Color the icing as desired.

Use the icing right away or store in an airtight container, with a piece of plastic wrap pressed against the surface to prevent a skin from forming, in the refrigerator for up to 3 days. Stir until smooth before using. Color the icing as desired.,


Royal Icing Tips and Tricks

Fit a piping bag with a small round tip #1 or #2 to pipe lines and shapes and/or another piping bag with a slightly larger tip #3 or #4 for flooding. Fill each bag with the corresponding icing and have fun! Practice on a piece of parchment paper if you are nervous, but truly if you think you messed up - just cover your cookies with sprinkles! 

For the trees in this post I used the flooding icing to draw a line around the border of each cookie, then filled it in completely and sprinkled to my heart’s content. After the trees had dried slightly I went back and used the piping icing to draw the trunks. 

You can also use a spoon to cover the cookies with thinner flooding icing or dip them, have fun! Don’t worry to much about it!

If you are adding sanding sugar or sprinkles to your iced cookies you’ll want to add them just after you pipe the icing. Royal icing will develop a dry skin very quickly, so have your sprinkles at the ready.

If you’d like to pipe lines that sit on top on top of flooded cookies, let the flooding icing dry all of the way or the lines will melt into the flooded icing.

In any case make sure to let the cookies dry all of the way, uncovered, before stacking or packaging, I like to leave mine overnight.

gingerbread cookies | apt 2b baking co