Buttermint Patties

Buttermint PattiesZI4A8204.jpg
Buttermint PattiesZI4A8173.jpg
Buttermint PattiesZI4A8189.jpg
Buttermint PattiesZI4A8210.jpg
Buttermint PattiesZI4A8200.jpg

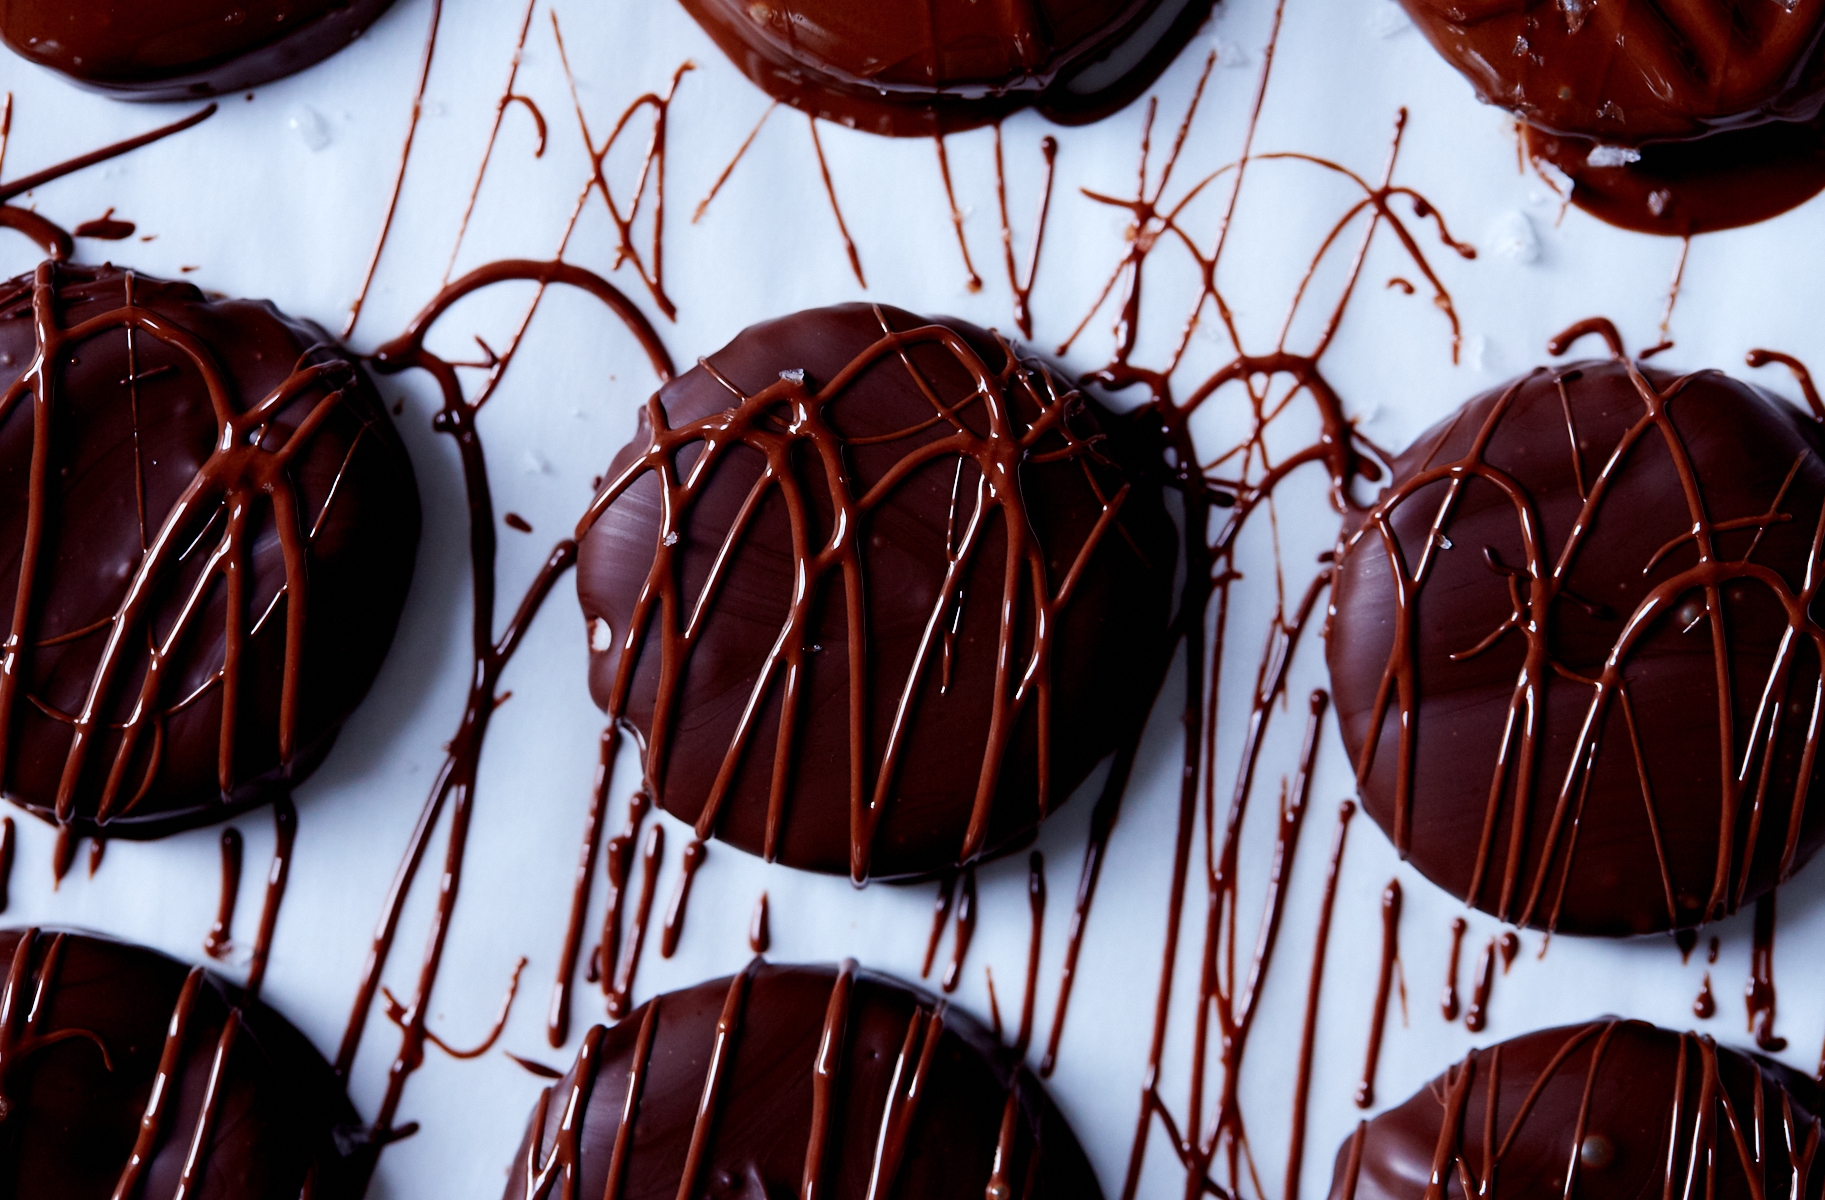
Anyone else LOVE buttermints? You know, those old fashioned kinda hard, kinda chalky, but also creamy little candies that come with the check at some restaurants? I find them totally irresistible and these little confections have all the creamy, minty deliciousness of a buttermint with the texture, and chocolate coating of a peppermint patty. They are a perfect treat to make for holiday gifts, not too hard, but very special and VERY tasty.

I covered these with (slightly imperfect) tempered chocolate, which gives the candies a crisp and shiny chocolate coating at room temperature, but tempering can be kind of tricky business. I find the seeding method to be the most straightforward. But the great news is, even if your chocolate isn’t perfectly tempered you can just store your mints in the fridge - which honestly I’d recommend anyway because I think these are best served chilled. Here’s another great article by David Lebovitz about tempering.


Buttermint Patties

slightly adapted from Amanda Fredrickson’s Peppermint Patties

makes about 4 dozen, depending on size

You can coat these with any type of chocolate you like. I did some with semisweet and some milk, and some with a little of both. Just make sure to use high quality feves or chocolate bars - do not use chocolate chips which contain stabilizers that you don’t want for a coating like this. You can also top them with a little bit of crushed peppermint candy or cacao nibs. Also, feel free to divide the dough and make half with nibs and half without, which is what I did for the photos in this post.

Filling

5 cups (550g) confectioner’s sugar

3 tablespoons corn syrup

3 tablespoons (45g) cultured butter, softened

2 tablespoons water

2 teaspoons peppermint extrat

2 teaspoons vanilla extract

1/2 teaspoon kosher salt

2 tablespoons cacao nibs (optional)

Topping

18 ounces high quality chocolate (bittersweet, semisweet or milk), chopped

flaky salt (optional)

In the bowl of a stand mixer fitted with the paddle attachment, combine all of the filling ingredients except for the cacao nibs. Mix on low until all of the ingredients are moistened, add the cacao nibs (if using) then turn the mixer up to medium and mix until the mixture is the consistency of play dough.

Turn the dough out onto a piece of parchment paper and place another piece of parchment paper on top. Roll the dough out until it is about 1/4’’ thick. Remove the top parchment and use a 1 1/2 or 2-inch circle cutter (or any other shape you like) to cut as many rounds as possible. Pull the excess dough away from the rounds (the rounds may be soft and tricky to move). Slide the parchment paper with the rounds onto a baking sheet and refrigerate. Gather up the dough scraps, re roll and cut more rounds. Again, transfer the parchment paper with the rounds onto a baking sheet and refrigerate. Repeat until all of the dough is used.

While the rounds are chilling, temper the chocolate. Use a fork to dip the chilled rounds in the chocolate and shake off the excess. Transfer them to a clean piece of parchment paper to dry. Sprinkle with flaky salt or use the fork to drizzle with more chocolate for decoration. Let them harden then store, with layers of parchment in between the layers in an airtight container.

Buttermint PattiesZI4A8181.jpg

My Favorite Pumpkin Pie

winter luxury pumpkin pie | apt 2b baking co.JPG

I posted a photo of this sunshiney pumpkin pie a few days ago on Instagram and lots of you nice folks asked for the recipe, so here it is! Its the pumpkin pie recipe from my book and it includes a few of my very favorite things - maple syrup, creme fraiche, and roasted squash puree. You can definitely use canned pumpkin puree too, but roasted butternut squash is nice if you have it. The crust in this photo was a little experiment that I am working on, but I have linked to my favorite crust below. Feel free to use what you like if you have another one though. Happy Thanksgiving everyone!

Winter Luxury Pumpkin Pie

from Sweeter off the Vine

Makes one 9-inch pie

 A couple of years ago, after attending the Common Ground Fair in Maine, I fell in love with the winter luxury pumpkin. Winter luxuries are an heirloom variety of pumpkin prized for their caramel infused flavor and smooth texture. They are admittedly hard to find, even in NYC, but if you can locate one where you live I highly suggest picking it up. They are about the size of a sugar pumpkin and they have beautiful netting on their skin, almost like a cantaloupe. Winter luxuries (that name!) have thinner skins than most hard winter squash so they can’t be stored as long as other varieties, which is part of the reason they have fallen out of favor with farmers. Substitute roasted butternut squash or canned pumpkin purée if winter luxury pumpkins aren’t available where you live. If you are concerned about over filling the pie shell, bake any extra filling alongside the pie in buttered ramekins until it puffs slightly in the center.

1 disc of your favorite pie crust - This is mine  

 2 cups (450g) roasted butternut squash purée (canned pumpkin works too!)

3/4 cup Grade B maple syrup

3/4 cup heavy cream

1/2 cup (112g) crème fraîche

3 eggs, lightly beaten

1 teaspoon vanilla extract

3/4 teaspoon cinnamon

1/4 teaspoon allspice

1/8 teaspoon nutmeg

1/2 teaspoon salt

Position a rack in the lower third of the oven and preheat it to 425ºF.

 To blind bake the crust:

On a lightly floured surface, roll out the pie dough into a roughly 12-inch circle about 1/8- inch thick. Place it into a 9 or 10-inch pie plate fold the edges under and crimp. Dock the crust with a fork. Chill the formed crust in the freezer for 15 minutes or until very firm. Line the chilled crust with a piece of parchment paper and fill with pie weights or dried beans. Slide the crust into the oven and bake for 15 minutes or until the edges are golden and crisp. Carefully remove the parchment paper and weights then bake the crust for 10-15 more minutes or until light golden all over. If the crust puffs up at all while baking gently press it back into the pan with an offset spatula or fork. Let the crust cool slightly while you prepare the filling.

Turn the oven down to 350ºF. 

Whisk all of the filling ingredients together until well combined. Then strain the mixture through a fine mesh sieve for maximum smoothness.

 Put the baked pie shell on a baking sheet, then pour the filling mixture into the shell. Slide the pan into the oven and bake until the filling is slightly puffed and the center wiggles just slightly when you shake the pan, about 30 minutes. Cool the pie completely before serving with a dollop of whipped cream.