Stamped Brownie Cookies

Stamped Brownie Cookies | apt 2b baking co

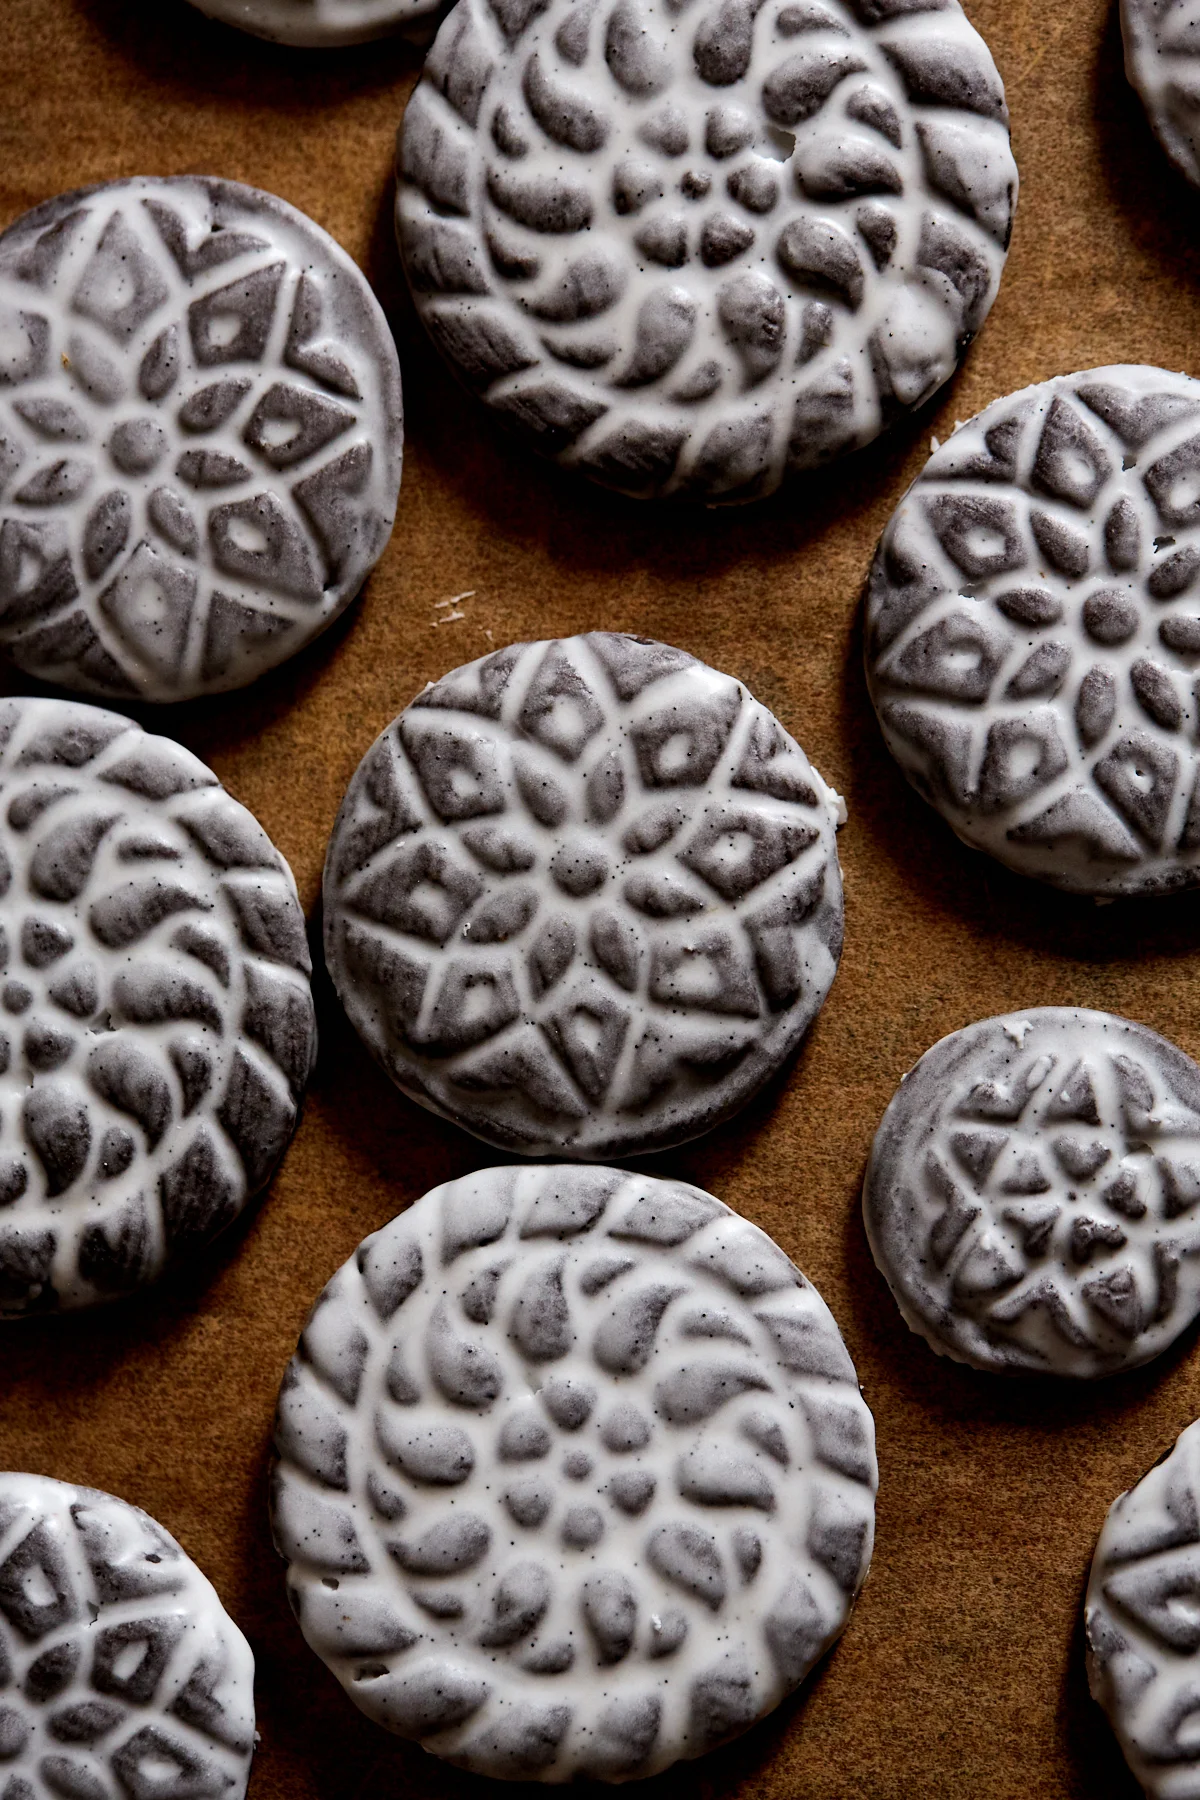
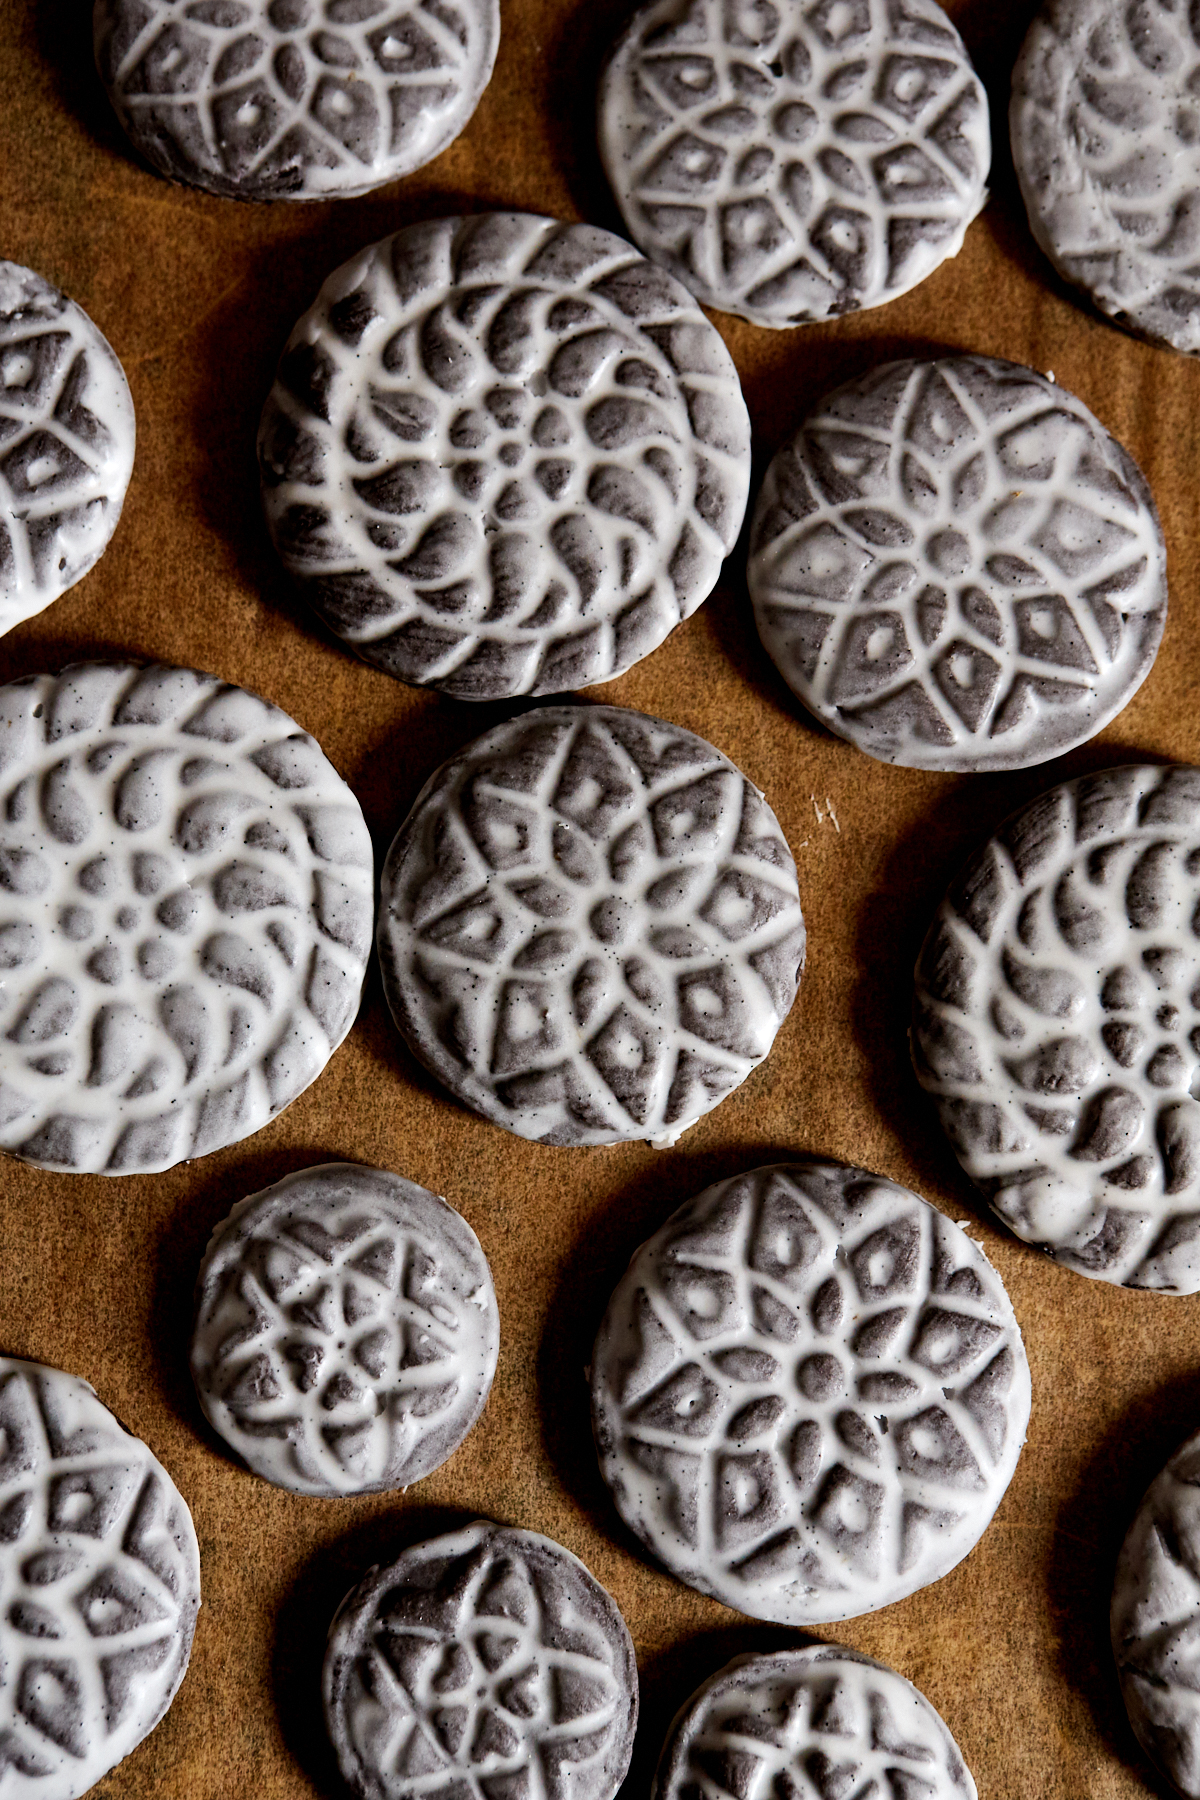
Last year I fell in love with stamped gingerbread cookies so this year I was primed and ready for another stampable cookie for my holiday packages. I find that darker doughs - like chocolate or gingerbread are the most dramatic when glazed, so I went for deep rich chocolate with both Dutch process and black cocoas. You can stamp just about any cut out cookie dough that holds it’s shape while baking though, so if you’ve invested in stamps try out a few doughs. And alternately, these cookies are absolutely gorgeous when stamped and glazed, but also work well as cut out cookies without a stamp. Happy Baking! I’ll be back soon with more cookies!


Stamped Brownie Cookies

makes about 3 dozen cookies, depending on the size

Slightly adapted from Smitten Kitchen’s Brownie Roll-Out Cookies

These soft and chewy chocolate cookies are gorgeous when stamped, but also work well as cut out cookies if you don’t have a stamp. Flavor the glaze however you like, but a little peppermint and vanilla is nice for the holidays. I bet a little bit of espresso powder instead would be just delicious. Make sure to not over bake the cookies, they’ll lose their chew and will be more of a standard sugar cookie. I found 7 minutes in my oven was just right, but keep an eye on yours as all ovens vary. I like to brush the glaze on with a pastry brush. Use a thin layer to see lots of the cookie peeking through or a thicker layer for a more opaque look.

Brownie Cookies

3 cups (384g) all purpose flour

1/2 cup (50g) dutch process cocoa powder

1/2 cup (50g) black cocoa powder (or dutch process)

1 teaspoon kosher salt

1/2 teaspoon baking powder

1/4 teaspoon cinnamon (optional)

1 cup (225g) unsalted butter, softened

1 1/2 cups (330g) light brown sugar

2 large eggs

1 teaspoon vanilla extract


Glaze

1 cup confectioners sugar

3 tablespoons cream

seeds from 1/2 vanilla bean or 1/2 teaspoon vanilla paste

1 teaspoon peppermint extract

pinch salt

Whisk the flour, cocoas, baking powder, and salt together in a bowl.

In the bowl of a stand mixer, combine the butter and sugar. Cream until light and fluffy then add the eggs one at a time. Mix until well combined then add the vanilla.

Add the dry ingredients all at once and mix until combined. Make sure to scrape the bottom and sides of the bowl to ensure the dough is evenly mixed.

Turn the dough out onto a piece of plastic wrap and wrap tightly. Refrigerate the dough for at least one hour and up to 2 days.

When you are ready to bake, arrange two racks as close to the center of the oven as possible and heat the oven to 350ºF. Line two baking sheets with parchment paper.

Work with half of the dough at a time and roll out the dough so it’s about 1/4-inch thick. Dip the cookie stamps in a bowl of cocoa powder or flour, shake off any excess and then press them firmly into the dough, one at a time, to create a deep imprint. Use a round cutter to cut the cookies.

Transfer the cookies to the lined baking sheets about 1-inch apart. Re-roll the dough scraps and continue to stamp and cut until all the dough is used up. Bake the cookies until they are just firm to the touch and puffed, 7-10 minutes. Rotate the baking sheets from top to bottom and front to back halfway through baking.

Prepare the glaze while the cookies are baking as it is best brushed on while they are still warm. Whisk all of the ingredients together in a small bowl. It should be the texture of Elmer’s Glue. If it seems a little thin, add a tablespoon or two of confectioners sugar. If its thin, add a little more cream.

Remove the cookies from the oven, let them rest for 5 mins, then brush or dab the glaze all over with a pastry brush. Transfer to a wire rack to cool completely. Cookies will keep for a few days in an airtight container at room temperature.


I used hand carved cookie stamps for these cookies. Zozo Baking sells similar ones.

You can also find cookie stamps in most kitchenware shops or online.

Stamped Brownie Cookies | apt 2b baking co
181212_StampedBrownieCookiesZI4A8380.jpg

Fancy Jello Mold

Photo: Joe Lingeman for NYMAG

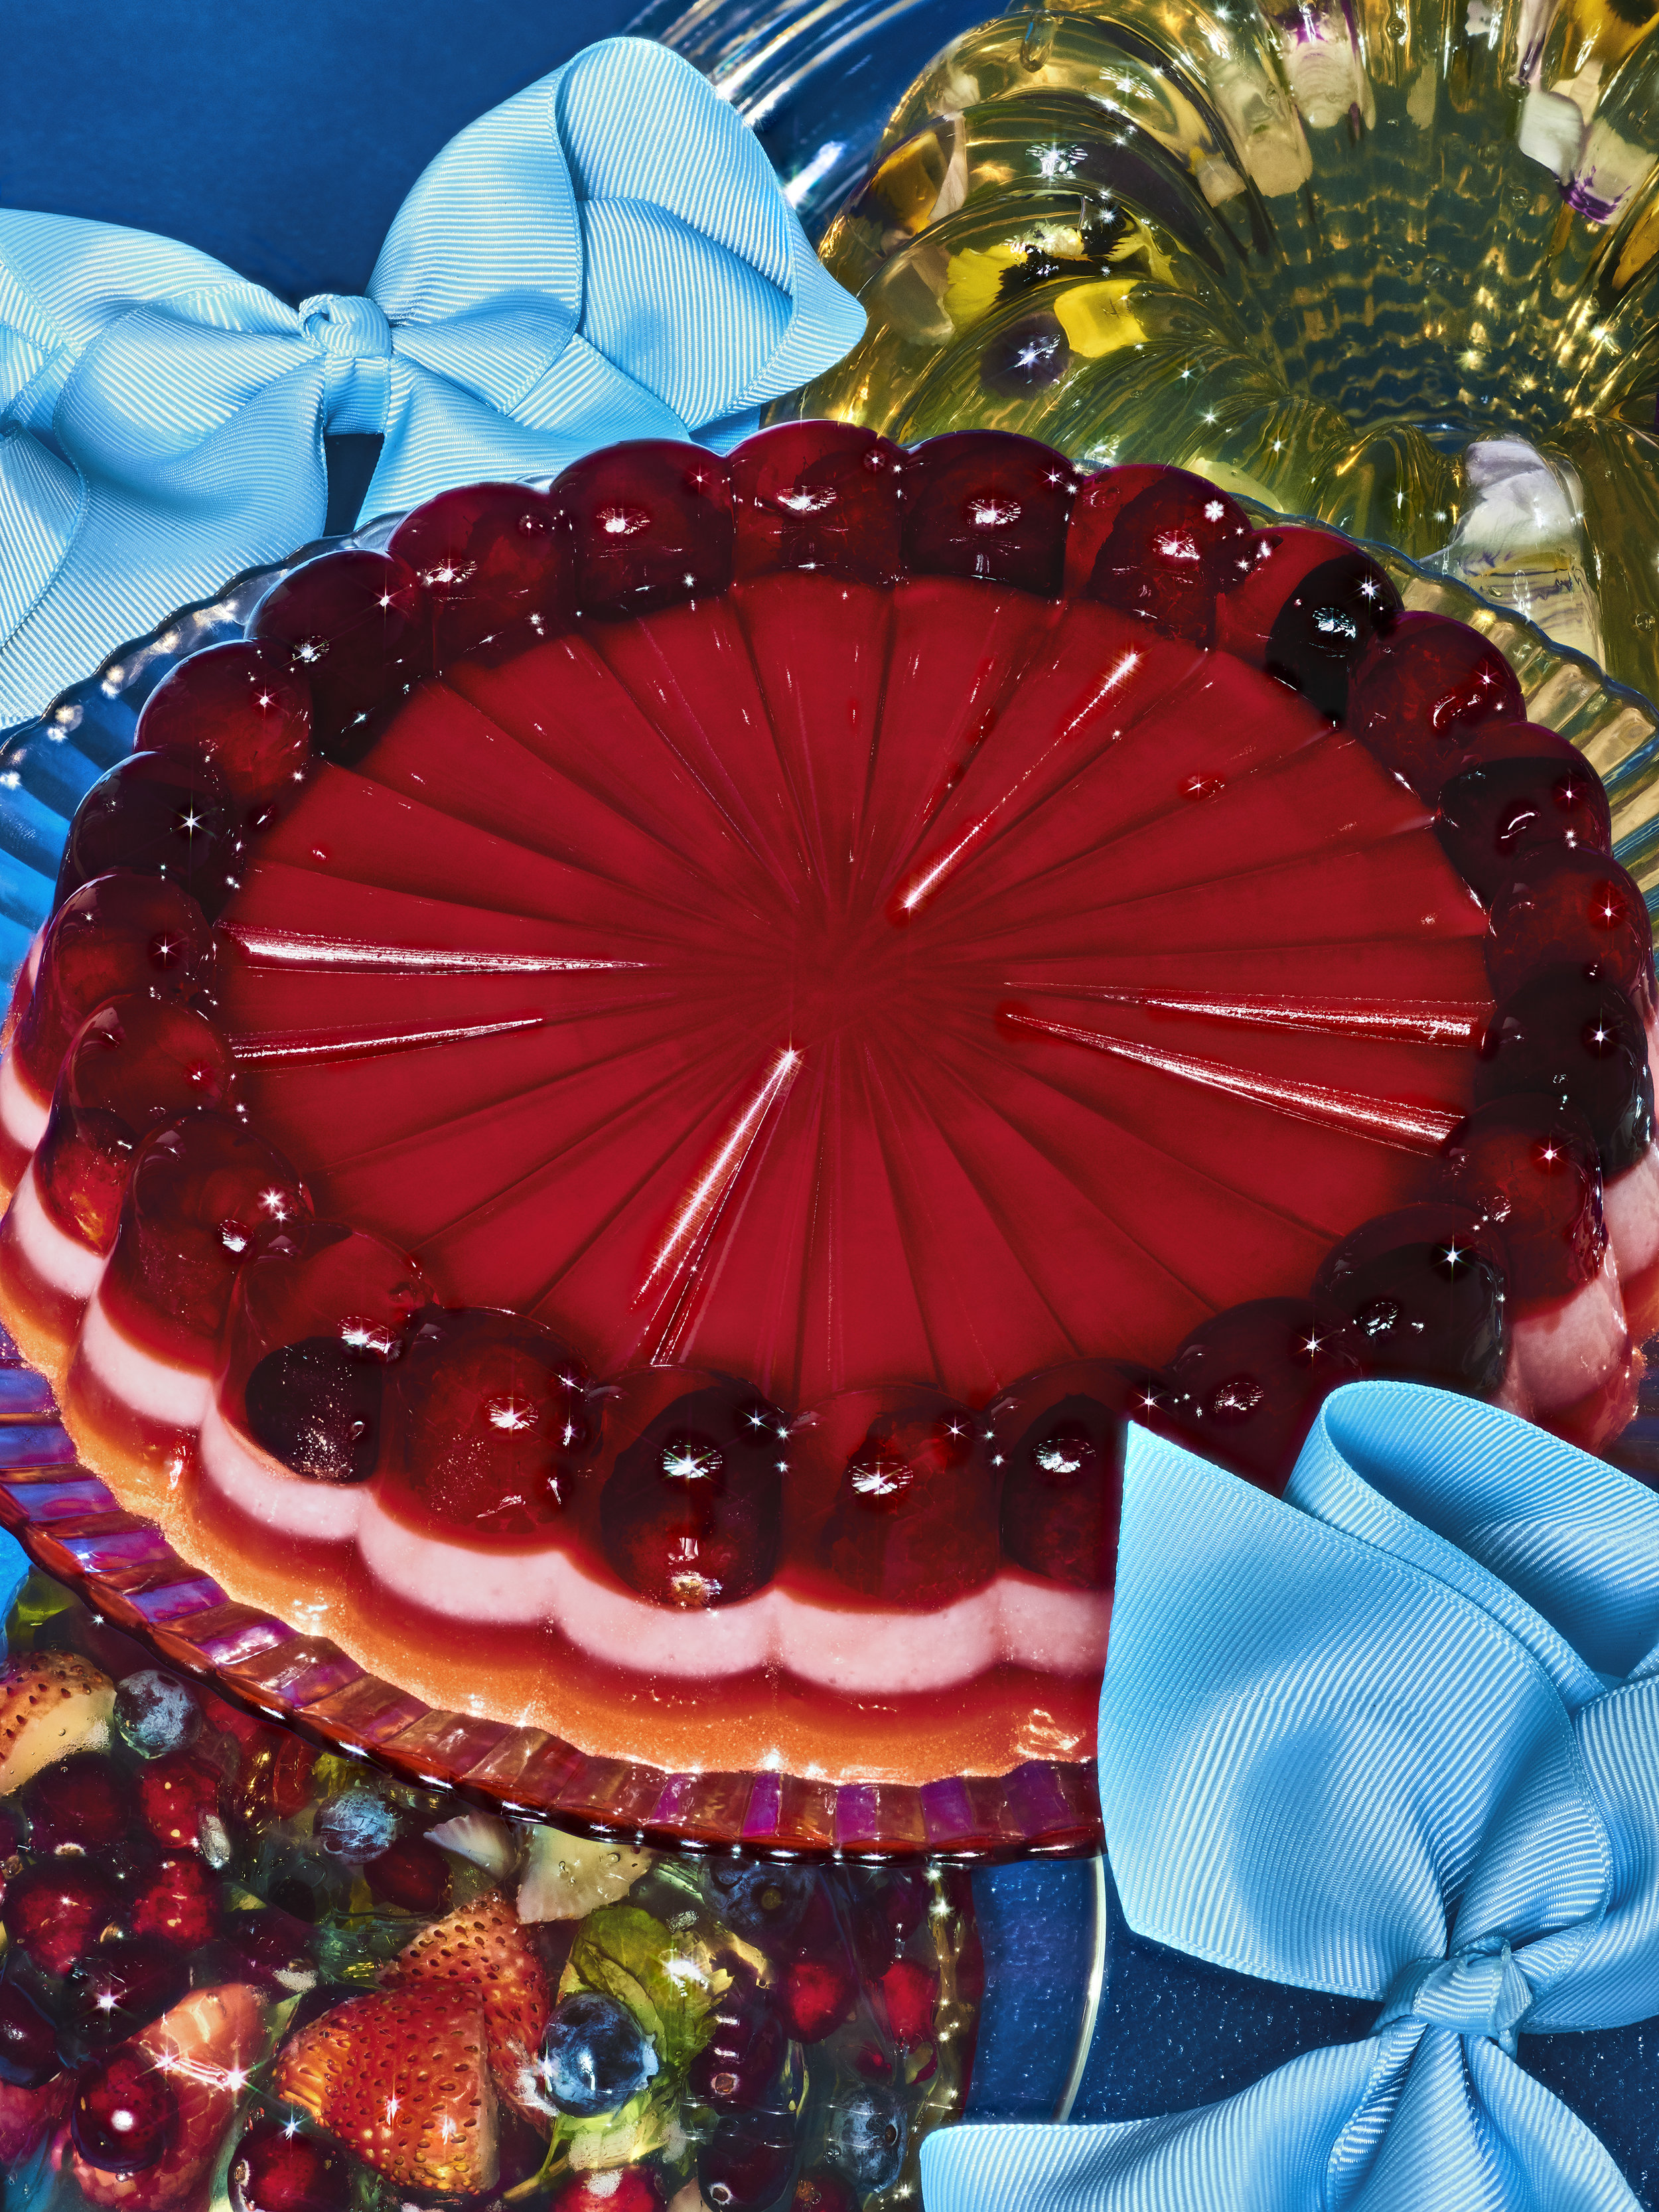
I don’t know about you guys, but I think jelly molds are ready for a comeback. Or are they already back? I’ve seen them popping up here and there, and I have made a surprising number of them for photoshoots this year. I have totally fallen in love with their kitchy vibe and stunning colors. They can be totally delicious too! NYMag agrees and they asked me to create a gift worthy jelly mold for their annual gift guide which is on newsstands today. 

Impress your guests this holiday or bring one to a potluck and totally blow your friends minds. All you need is a fun shaped vessel – I like decorative cake pans (Nordicware makes great ones) but you could totally just use a regular glass or stainless mixing bowl, gelatin, juice, and some time. Have fun! Happy Holidays! 


Fancy Jelly Mold

I used Nordicware’s Charlotte Pan for this jelly, which is super cute and the little divots on top are the perfect shape to hold a cranberry or a raspberry. If you’d like to make a larger jelly mold you can double or triple this recipe. This jelly has some Framboise in it, but to make it more family friendly you can substitute cranberry juice for the Framboise. Pomegranate juice will also make a very tasty jelly, but it will be a bit more opaque and tart than the cranberry.

To suspend fruit in a larger mold, let the cranberry jelly mixture set until it is the texture of egg whites. At this point you can fold the fruit into the jelly and spoon it into the mold. The pictured mold uses cranberry juice, but you can also use pomegranate juice. The jelly will be slightly less clear and you will need to add 2 more tablespoons of sugar if using pomegranate juice.

For a clear jelly - Use white cranberry juice (or prosecco!) - every 3 cups of juice will need 2 envelopes of gelatin to set. You can also add a bit of clear liquor to the mix, like elderflower. Yum! If you’d like to add edible flowers, let the jelly set until it is the consistency of egg whites, pour it into the mold and place the flowers in the jelly one at a time. Make sure to arrange them to the prettiest side of the flowers is facing out because we all know this is about looks.

24 fresh cranberries

3 (1/4 ounce) envelopes unflavored powdered gelatin

3 1/2 cups cranberry juice cocktail or pomegranate juice

2 tablespoons sugar 

4 tablespoons Framboise

2 tablespoons lemon juice

1/2 cup sweetened condensed milk 

Food coloring (if desired)


Place 1 cranberry in each divot of the pan and set in the fridge to chill. 

Bloom the gelatin. In a small bowl stir the gelatin into 1 cup of the cranberry juice. Let sit for 5 minutes, until the gelatin is moistened.

Heat 1 cup cranberry juice and the sugar until simmering. Remove it from the heat and stir in the bloomed gelatin. Stir until the gelatin is completely dissolved, warm it gently over low heat if necessary to dissolve the gelatin, but do not boil. Add the remaining cranberry juice, lemon juice, and Framboise, and stir to combine.

Divide the mixture between 2 containers (a measuring cup with a spout works great) and stir the condensed milk into 1/2 of the gelatin mixture. Keep the gelatin at room temperature as you build the layers.

Pour a thin layer of the clear cranberry gelatin over the top of the chilled cranberries in the mold, just to cover the cranberries and the bottom of the mold. Chill until completely firm, about 30 minutes. After it has chilled, gently pour 1/2 of the condensed milk gelatin mixture over the top and refrigerate until completely firm, about 30 minutes. 

At this point, if you’d like the finished mold to be more colorful you can add food coloring to the remaining batches of gelatin. I tinted the bottom layer of the pictured mold with a tiny bit of orange.

Pour a layer of the cranberry gelatin over the chilled condensed milk gelatin and refrigerate until firm. Finish with the last layer of condensed milk gelatin and chill until completely firm, 4 hours or overnight. If the remaining gelatin hardens in between these steps you can very gently warm it over low heat. Do not boil it or it will not set.

To unmold, dip the gelatin mold in warm water for about 10 seconds. Place a serving platter over the top and invert. The gelatin should gently fall onto the plate. If it doesn’t quickly dip it in warm water again. Slice and serve!