The Easiest Pie Crust, Ever
/I know. I know. The hyperbole is out of control in the title of this post, but you all are going to forgive me when you give this crust a try. It is truly, truly easy, and not in a "I make my own mayonnaise and homemade pasta because it is SO easy" kind of way. It is the kind of easy that only takes three ingredients and a food processor. I might even say it's genius, better call Kristen at Food52!
Making pie crust is one of those kitchen tasks that freaks otherwise totally rational and capable people out, and I get it. It can be messy and sensitive, it can rip and tear and get stuck to your countertop - and the fact that the best fruit pies are made during the hottest part of the year is downright mean when every pie crust recipe tells you the key is keeping all of the ingredients cold.
I have evangelized for an all-butter, hand-mixed crust on this blog for many years and I won't ever stop, but it takes some time and a little skill to put together and sometimes even I want something just a little bit easier and less sensitive. Enter, the Easiest Pie Crust, Ever!
This crust is made from flour, butter, and cream cheese. That's it! AND it is mixed in a food processor. There is no guessing how much water you need, no worries about warming the butter by touching it with your hands. I have made this crust in many kitchens this summer, and I've used it for everything from galettes to hand pies. I even made it GLUTEN-FREE and it was crisp and tasty, and delicious. Sounds like a miracle, right?
I wish I could take credit for it's genius simplicity, but the truth is it comes from the October 1988 issue of Gourmet, RIP. I was chatting with a friend over 4th of July weekend about how cream cheese is an ingredient that has fallen out of fashion a bit, but friends, let's bring it back. We are going to start with this perfect, 3-ingredient pie crust.
THE EASIEST PIE CRUST, EVER
From Gourmet, via Epicurious
Makes 1 crust for a single crust pie, galette, or about 6 small handpies
This dough is super forgiving, sturdy, crisp and flaky. The cream cheese gives it a bit of tangy flavor that is PERFECT with summer fruit. I have made this dough gluten-free with both Cup4Cup and King Arthur's Measure for Measure flour (that they sent me) too and they both work fabulously. My guests couldn't tell the difference between the traditional crust and gluten-free crust! I have a 12-cup food processor and have squeezed in a 4x recipe, but a 3x would have been a bit more reasonable.
1 cup (125g) all purpose flour or gluten-free flour blend
4 ounces (115g) cream cheese, cold and cut into bits
3 ounces (86g) unsalted butter, cold and cut into cubes
pinch salt
pinch sugar, optional
Add the flour, salt and sugar if using to a food processor fitted with the steel blade. Scatter the butter and cream cheese over the top. Pulse the mixture until is starts to hold together, then dump the contents of the food processor onto a clean work surface and gather it into a ball. Wrap the ball in plastic, press it into a disc, and refrigerate at least 2 hours before using.
All Butter Pie Crust
All pie crust is made from the same basic ingredients: flour, fat, water, and salt. I am partial to an all-butter crust because I think it tastes the best. The key to flaky pie crust is to keep the ingredients nice and cold— especially the butter and water—and to work quickly and intentionally. I like to mix pie crust with my hands rather than a food processor or pastry blender because I can control the exact size and shape of the butter pieces for the flakiest results. Add a few teaspoons of sugar if you prefer a sweetened crust.
Ingredients
2 2⁄3 cups (340g) all purpose flour
1 teaspoon kosher salt
1 cup plus 2 tablespoons (255g) very cold unsalted butter
1 tablespoon apple cider vinegar
8-10 tablespoons (120ml) ice water
Whisk the flour and salt together in a large bowl, cut the butter into 1⁄2-inch cubes, and add the apple cider vinegar to the ice water.
Working quickly, add the butter to the flour and toss to coat. Then use your fingers or the palms of your hands to press each cube of butter into a flat sheet. Keep tossing the butter in the flour as you go to ensure that each butter piece is coated with flour. The idea is to create flat, thin shards of butter that range from about the size of a dime to about the size of a quarter. If at any time the butter seems warm or soft, briefly refrigerate the bowl.
Sprinkle about 6 tablespoons of the icy cold vinegar-water mixture over the flour mixture. Use a gentle hand or wooden spoon to stir the water into the flour until just combined. If the dough seems dry, add more cold water a couple of teaspoons at a time. You have added enough water when you can pick up a handful of the dough and easily squeeze it together without it falling apart.
Press the dough together, then split it in half. Form each half into a disk, and wrap each disk in plastic wrap. Chill the dough for at least 2 hours before using, but preferably overnight. Keeps for up to three months in the freezer wrapped in a double layer of plastic wrap and a layer of foil. Thaw in the refrigerator before using.
VARIATIONS: For a rye variation, substitute 11⁄3 cups (175g) rye flour for an equal amount of the all purpose flour. For a spelt variation, substitute 11⁄3 cups (175g) spelt flour for an equal amount of the all purpose flour. You also may need a bit more water to bind the dough for these variations.
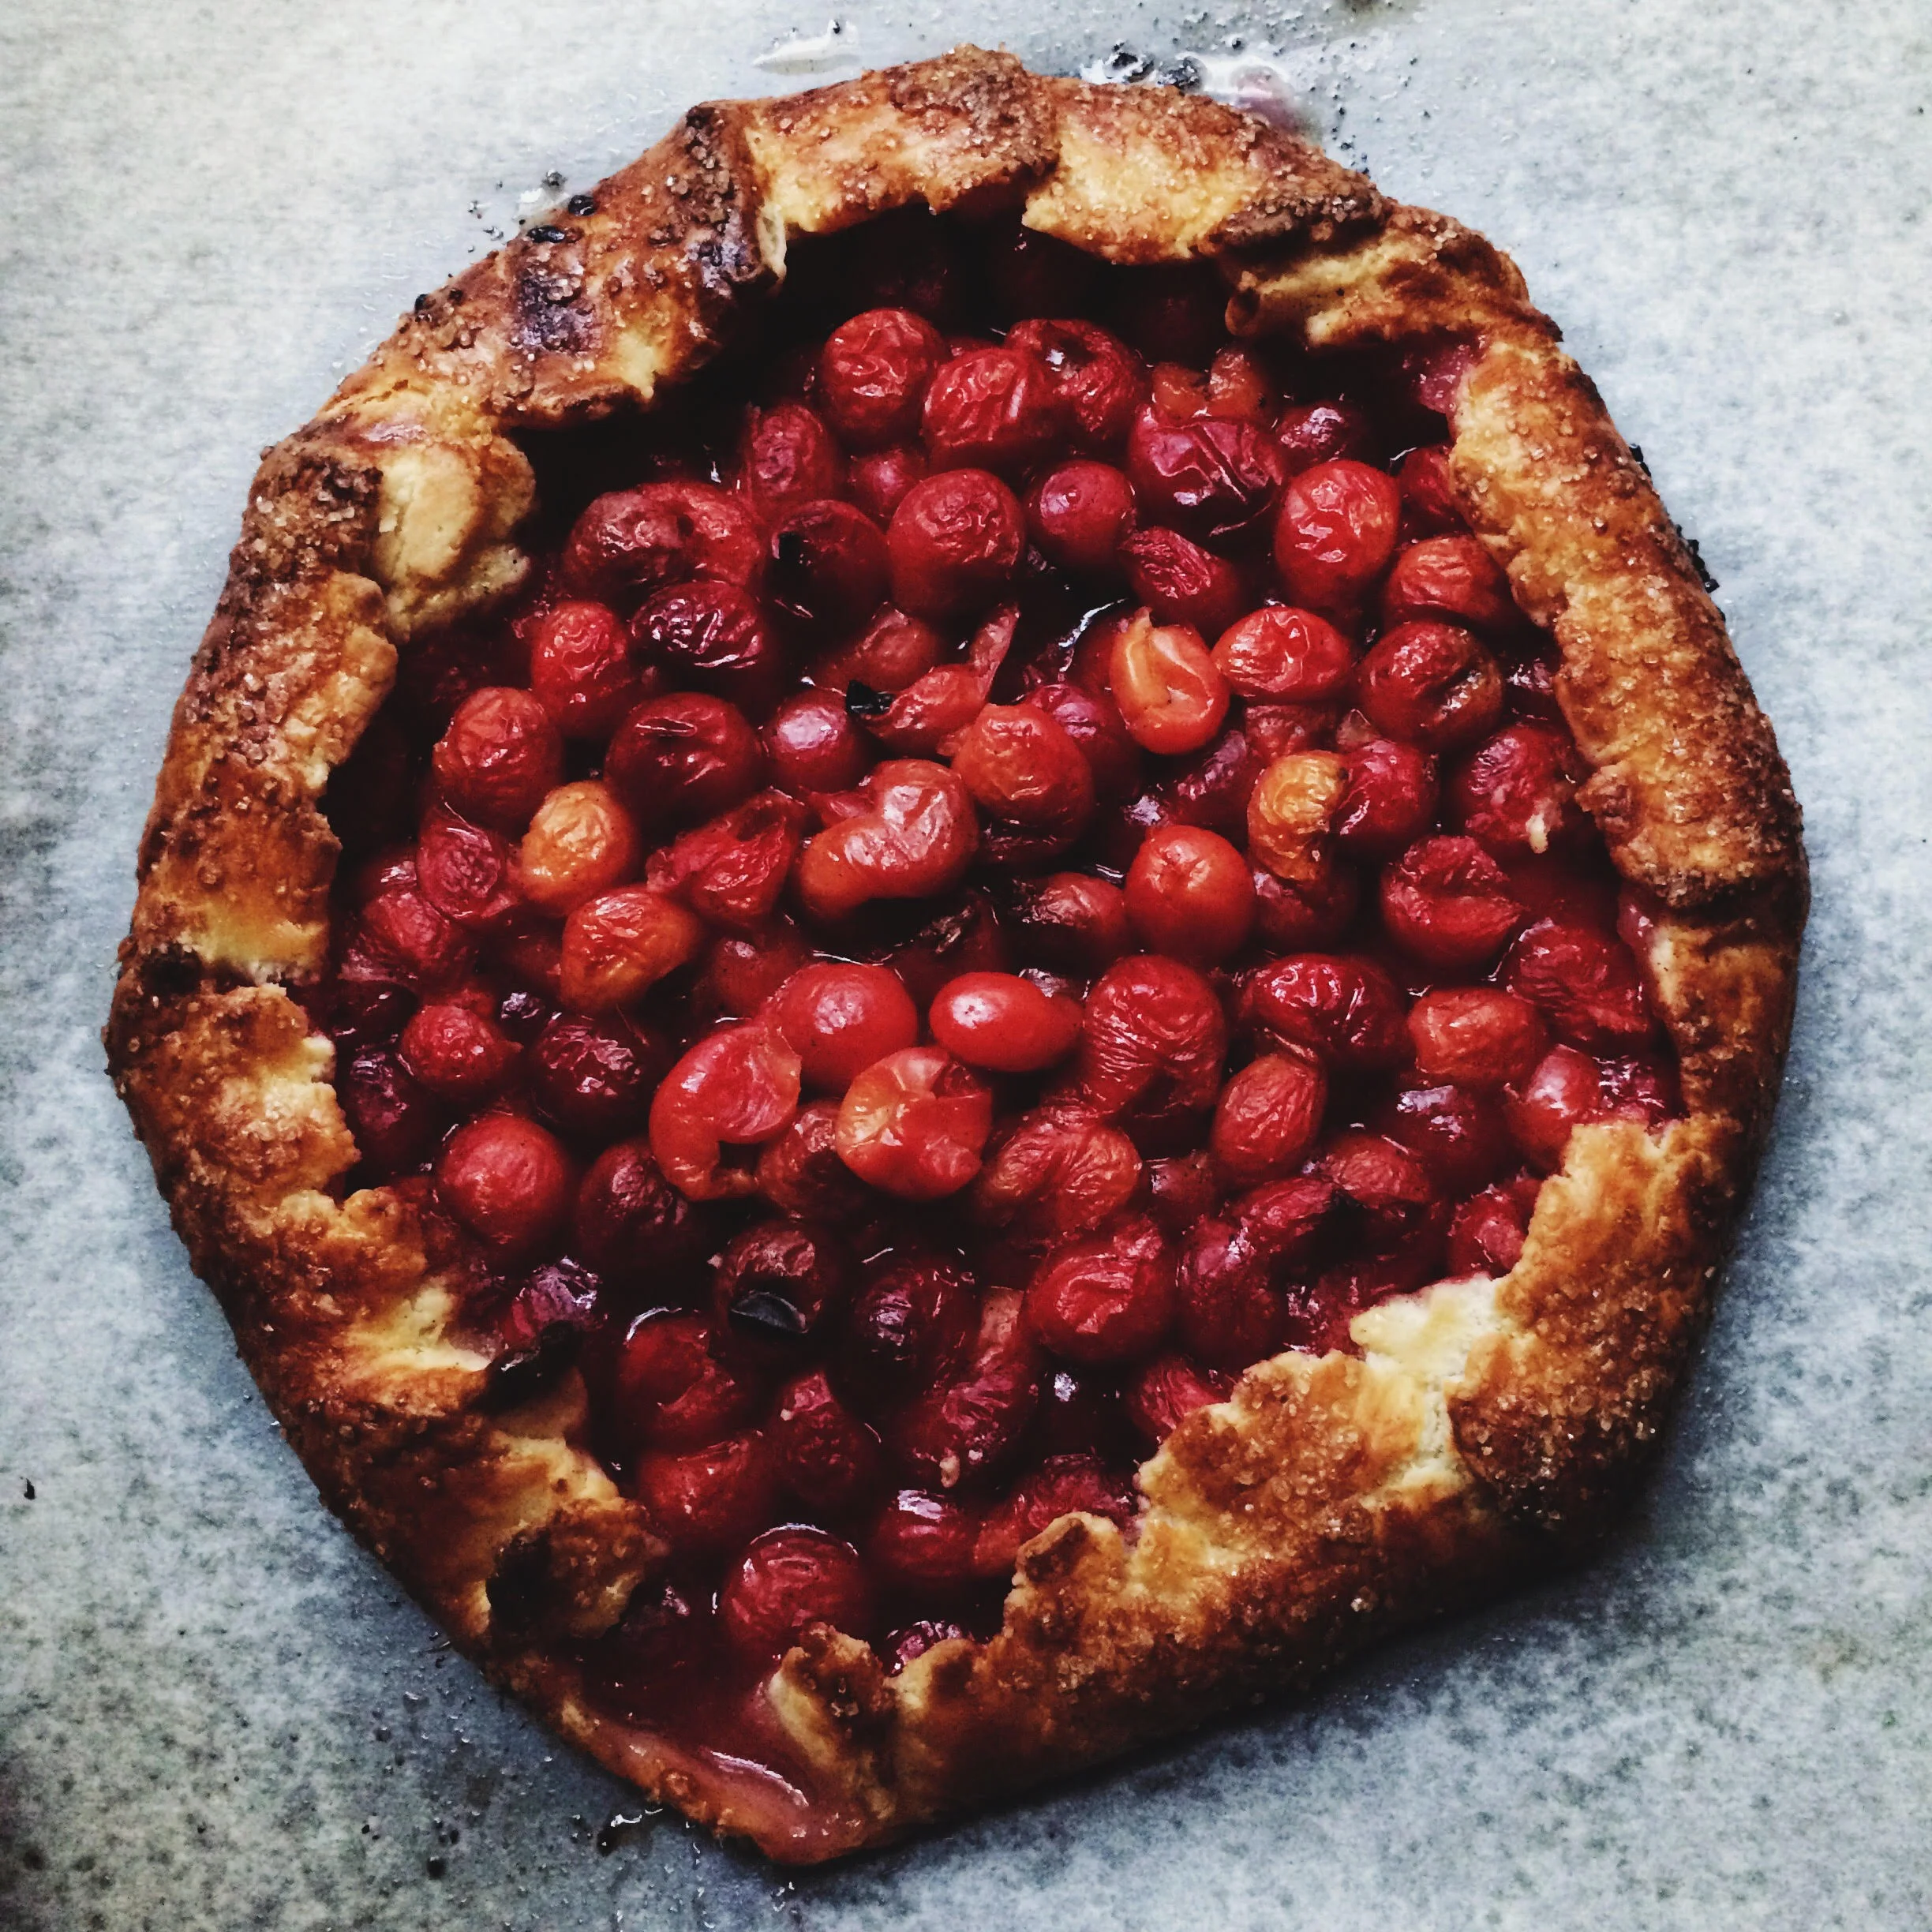
SOUR CHERRY, CURRANT AND GOOSEBERRY, OR ANY FRUIT! GALETTE
I have been making easy, breezy galettes a lot this summer. I haven't really been measuring, but more using this general recipe, adjusting a bit based on the sweetness of the fruit. I always err on the light side with sugar, you can always add a bit of vanilla ice cream or sweetened whipped cream if your tarts are too tart :) Check the hashtag #summerofgalettes for more! And please tag your galettes on Instagram, I'd love to see them!
1 Easiest Pie Crust Ever
about 1 pound (450g) fruit
1/4 cup apricot jam
4-6T sugar or less, to taste!
2 tablespoons flour
seeds of one vanilla bean
squeeze of lemon juice
pinch salt
1 egg, for egg wash
crunchy sugar
Arrange a rack in the oven in the lower third and preheat oven to 425ºF. Line a baking sheet with parchment paper.
Combine the sugar vanilla bean seeds, lemon zest, flour and salt in a bowl. Add the fruit to a large bowl and sprinkle the sugar mixture over the top, but don’t stir quite yet.
On a lightly floured surface roll the dough into a rough circle between 1/8-1/4-inch thick and transfer it to the parchment lined baking sheet. Gently stir the fruit mixture until well combined.
Spread the jam onto the center of the dough, then pour the fruit into the center of the galette. Fold the edges of the dough up and over the fruit and press the folds gently to seal. Refrigerate the formed galettes until the dough is very firm.
Brush the galette with egg wash, sprinkle with turbinado sugar and flaky salt if desired and bake until deep golden brown and bubbling, 45-55 minutes. Serve warm with vanilla ice cream.
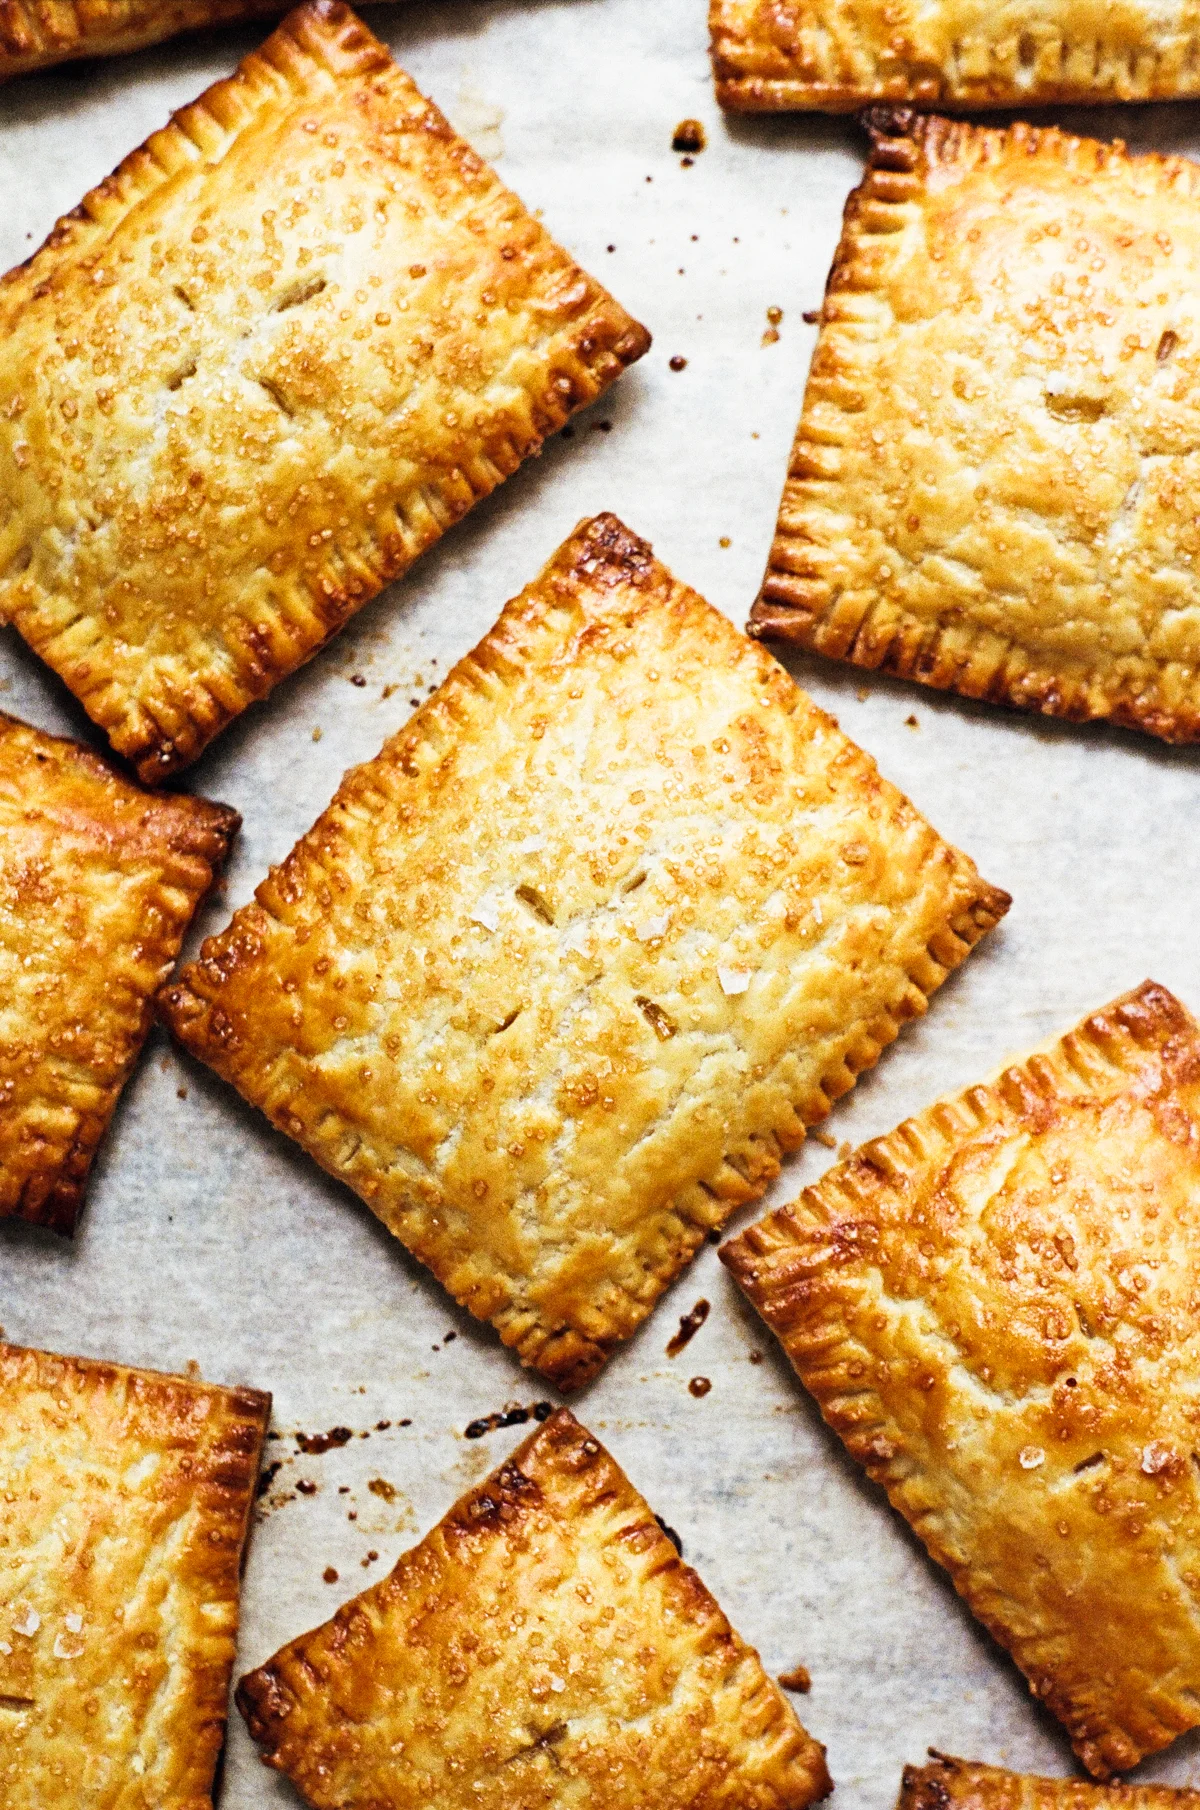
PEACH HANDPIES
I used Smitten Kitchen's recipe for the hand pies, using the Easiest Pie Crust Ever - minus the bourbon, plus a little flaky salt sprinkled on top.


